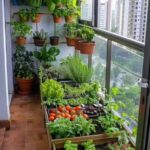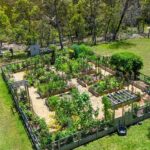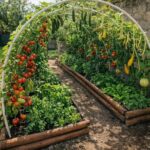
Growing garlic runs from a single container on a balcony to rows in a raised bed, and the deciding factor is usually how much cold your winter delivers.
Hardneck varieties need those freeze-thaw weeks to form real bulbs; softneck tolerates milder zones and stores longer braided in a kitchen.
I plant cloves 1–2 inches deep and 6–8 inches apart, pointed end up, whether they go in October or as soon as spring soil can be worked without clumping.
[link-whisper-related-posts]1. Harvesting Garlic
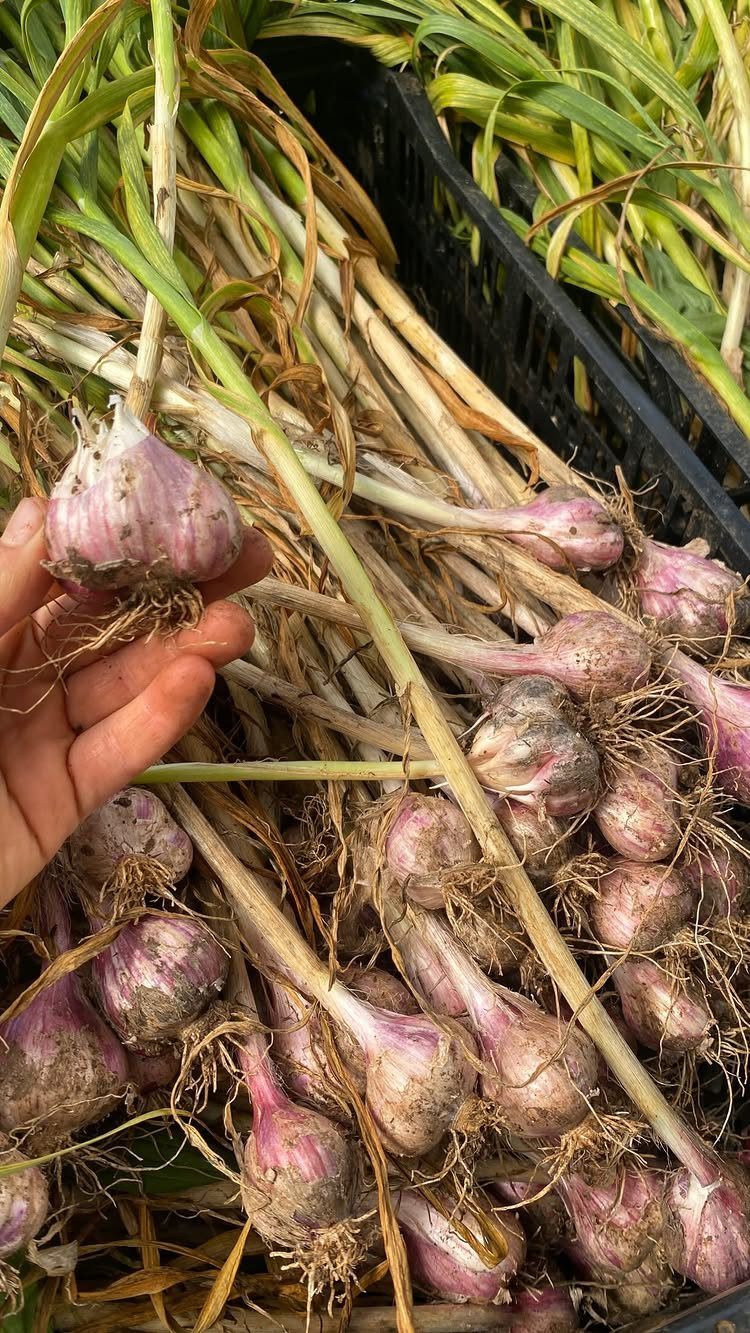
A garlic bulb is ready when the lower leaves turn yellow and dry, but green leaves still stand at the top. That mix means the wrapper is tight enough to store well.
The lifting matters more than the timing. Sliding a hand fork underneath the bulb and working it loose keeps the stem whole and unbruised.
Pulling by the stalk risks tearing it, and any break in the skin is a door for fungus or mold. I go slow, especially with softneck varieties where the neck can separate from the bulb if I rush.
An inherited bed, like one left untended in Oklahoma, follows the same rule: watch the leaves this spring, lift what is ready, then clean the bed and test the soil before the next planting cycle begins.

Package includes: You will receive a 13.78 × 13.78 inch garlic drying rack with 4 reinforced chains and 20 S-hooks. This ensures each garlic clove hangs freely, enjoying 360° airflow. Approximately 20 garlic cloves can be dried in 5-7 days. Suitable for various garlic varieties.

🧄81-Hole Efficient Air Drying DesignFeatures a precise 9×9 grid with 1.18in diameter holes, overall size 13.2x13.2 inches for full 360° airflow. This 2-pack hanging herb drying rack keeps garlic bulbs, onions, fresh herbs, seeds and small vegetables separated without overcrowding. Dries 2-3 lbs of garlic (30-40 bulbs) in 5-7 days and it is suitable for many types of garlic.Accelerates natural air drying perfectly for garden harvest, food drying and various fresh produce storage.

Large Capacity & Durable Design - With 4 layers and a load capacity of 2.2 lbs per layer, this herb drying rack is perfect for drying herbs, flowers, tea, fruits, and vegetables. Made from high-quality polyester with built-in steel wire rings, it provides strong support and resists deformation.
2. Curing Garlic
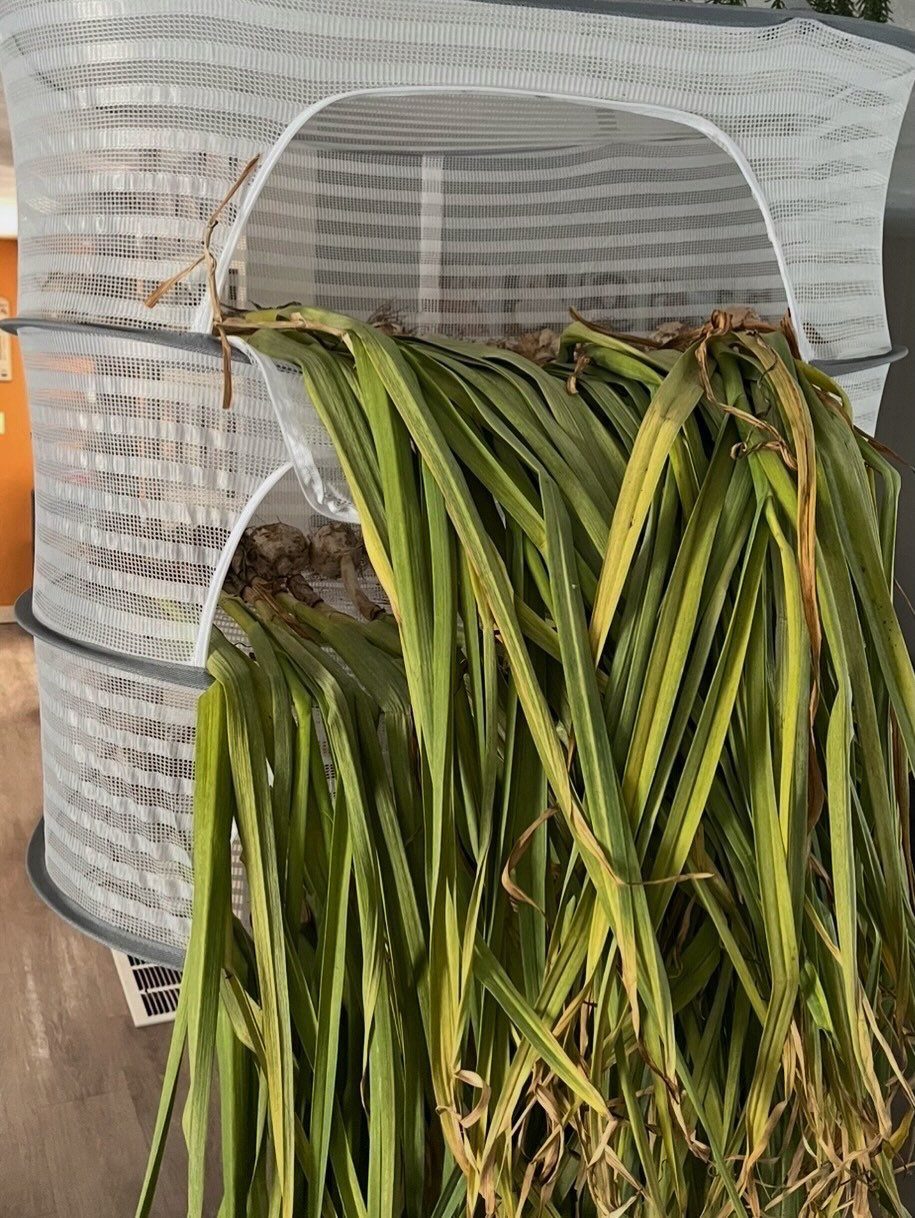
Fresh garlic tastes mild and wet; cured garlic keeps through winter. The difference is air, time, and keeping the sun off.
Set the bulbs on a rack with roots up if the rack allows it, or lay them in a single layer with space between.
A dry, shady spot with moving air does the work. Heat is fine; direct sun is not.
The stems and outer leaves slowly turn papery, and that papery finish is how I know the curing is done. Only then do I trim the roots and neck, or braid softnecks if I am storing them that way.

Large Opening and Capacity: This garlic keeper measures 4.4" x 3.9" diameter, which can easily hold 3 normal-size garlic bulbs. The wide opening makes the garlic holder easy and convenient to take the garlic out with your hands. A must for garlic lovers! Not only a garlic jar, also it can be used for onion, patato or ginger.

Ventilated Lid for Freshness – The small holes on the lid promote air circulation, helping to keep garlic fresh and dry for longer periods. SIZE: 2.95x3.3inch. Please check the size carefully before order!

Mild, Spicy-Hot Flavor: These California softneck garlic bulbs for planting produce creamy-white cloves with a classic mild yet spicy flavor, ideal for everyday cooking and fresh eating.
3. Mulch of Straw
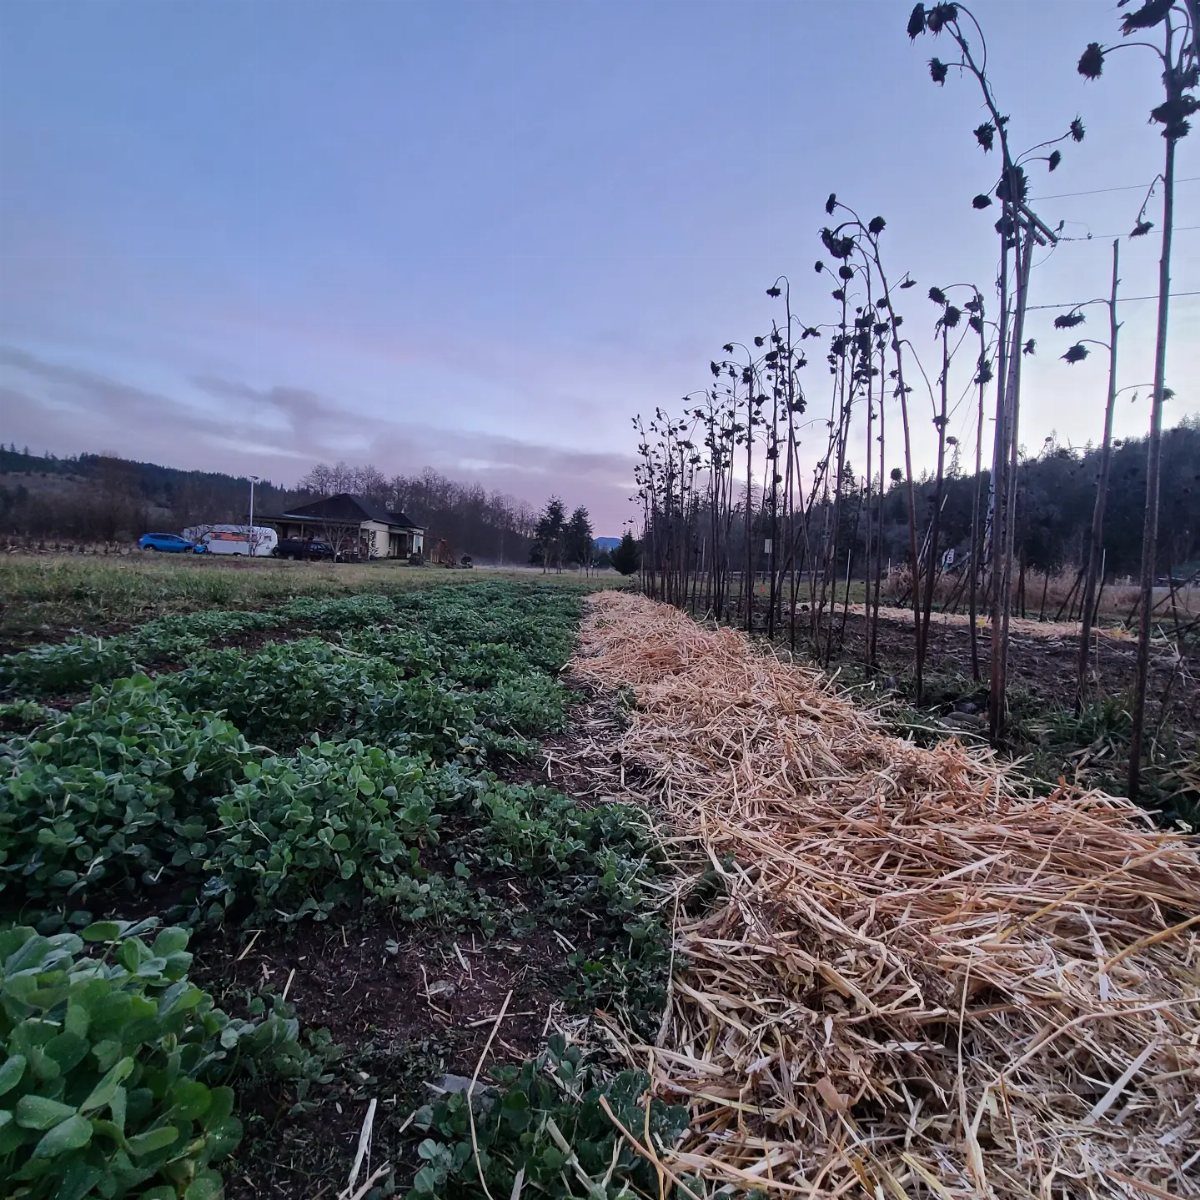
Straw mulch buys time and cuts work.
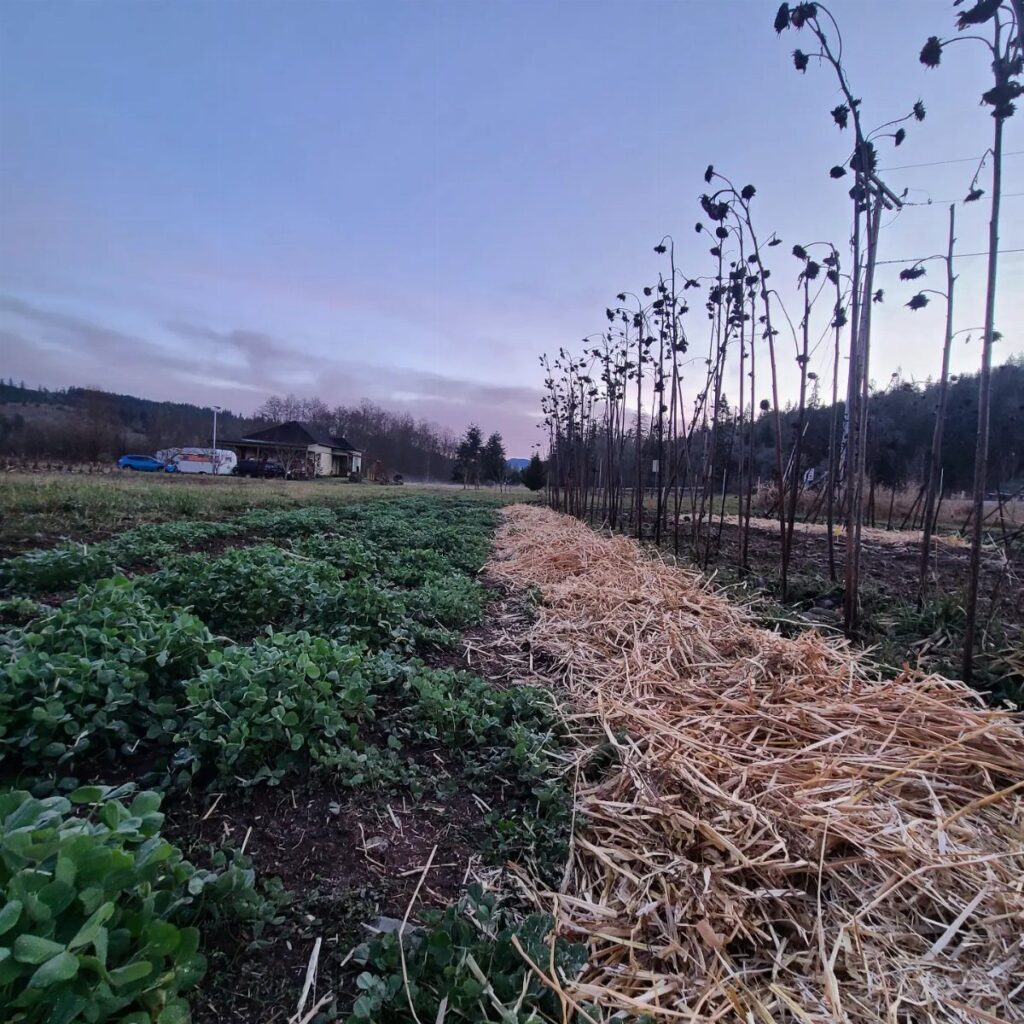
A light layer over a fall-planted bed insulates the cloves through freeze-thaw cycles that heave them out of the soil, and it smothers the early weeds that show up before the garlic canopy closes.
I use straw, not hay; hay carries seed that becomes next spring’s problem. Leaf compost works too, though it breaks down faster and may need topping off.
The mulch goes down after planting and watering, not before, so the cloves settle into firm contact with the soil. In spring I pull it back slightly if the shoots struggle to push through, though usually they manage fine.

Large, Firm Garlic Cloves for Planting. Each bulb produces thick, well-formed garlic cloves that separate cleanly. Customers consistently mention the firm texture and size, making these garlic seeds for planting easy to handle and space evenly.

Bold Flavor: Enjoy the rich, spicy taste that garlic is renowned for—perfect for enhancing your culinary creations.

One Premium Live Giant Elephant Ear Garlic Bulb by Greenhouse PCA | Each Bulb contains Multiple Cloves for Planting or Cooking.
4. Growing Garlic in Containers
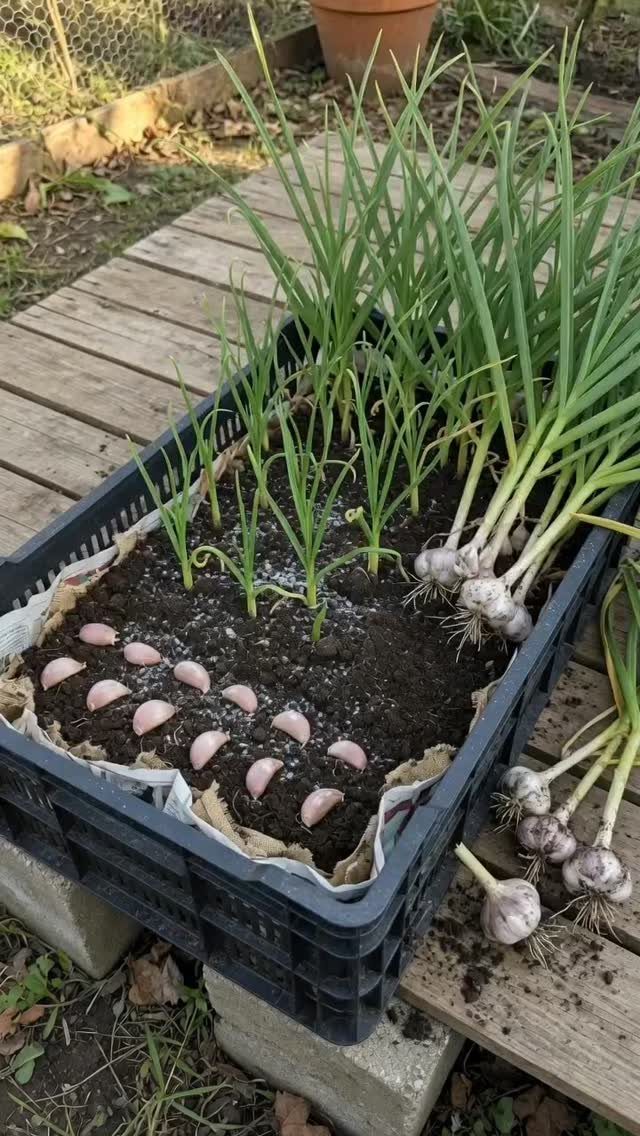
A container solves the problem of no ground, or of ground that stays wet. Garlic rots in standing water, so drainage is the whole game.
A pot or crate deep enough to let roots stretch, with holes I can see light through, holds enough soil for roots to develop. I line a crate with landscape fabric or burlap to keep the mix from washing out.
The container stays outside through winter; garlic needs the cold weeks to form bulbs, not just leaves. In warmer zones the timing shifts, but the outdoor chill remains non-negotiable.
Cloves go in skin-on, sprouted end up, root end pressed into the mix. I water to settle them, then mostly leave them alone until spring growth starts.

Packaging May Vary: Same great Seeding Mulch with updated packaging!

100% Natural & Soil-Safe Straw: Made from sun-dried wheat straw with no chemicals or weed seeds. It can safely break down into the soil, improve soil structure, and support organic gardening while keeping plants healthy and protected

Natural Straw: Natural straw, sun-dried and free from chemicals. This Garden Straw won’t sprout during use, making it perfect for Excellent Animal Bedding. Directly sourced from farmers, it offers your pets a natural, safe environment while also being ideal for gardening. Use it with confidence
5. Planting Garlic
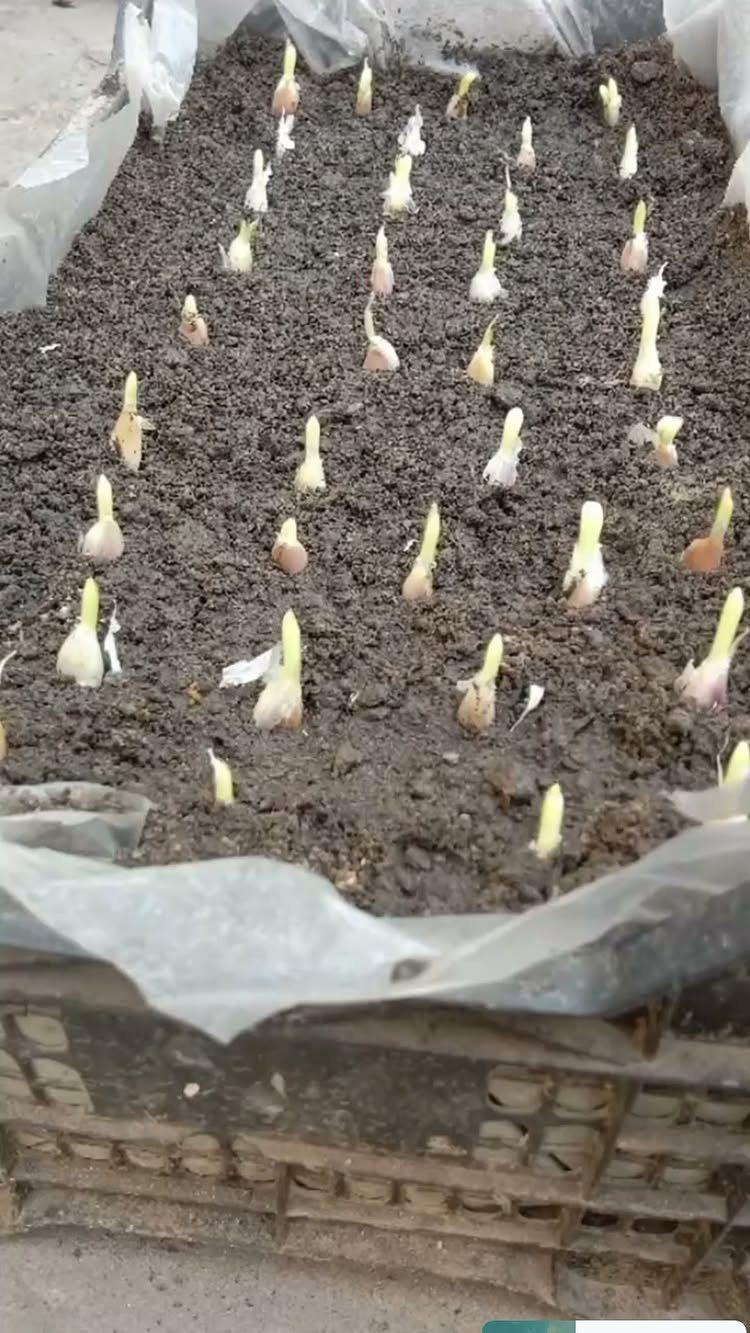
Garlic goes in the ground twice a year, and the right window depends on how cold the winter gets. In most of the country, October to December planting lets roots establish before the freeze.
Spring planting, early to mid-spring once the soil can be worked without clumping, works where winters are too harsh or where the fall window was missed.
Garlic needs a sunny bed with direct light for much of the day and soil that does not stay wet.
I work in compost or well-rotted manure first, and check that the pH sits between 6.0 and 7.0. Cloves separate from the bulb, firm ones only; soft or discolored cloves get discarded.
Pointed end up, 1–2 inches deep, 6–8 inches apart. Water once to settle the soil, then let the bed rest until shoots appear.

Ready-to-Use Formula: No mixing or extra steps required. Simply pour and plant - perfect for gardeners of all experience levels.

Hardneck Garlic Bulbs for planting grow into flavorful homegrown garlic with firm bulbs, large individual cloves and distinctive curling scapes, making them an excellent choice for vegetable gardens, raised beds and kitchen gardens
6. Growing Garlic from Bulbils
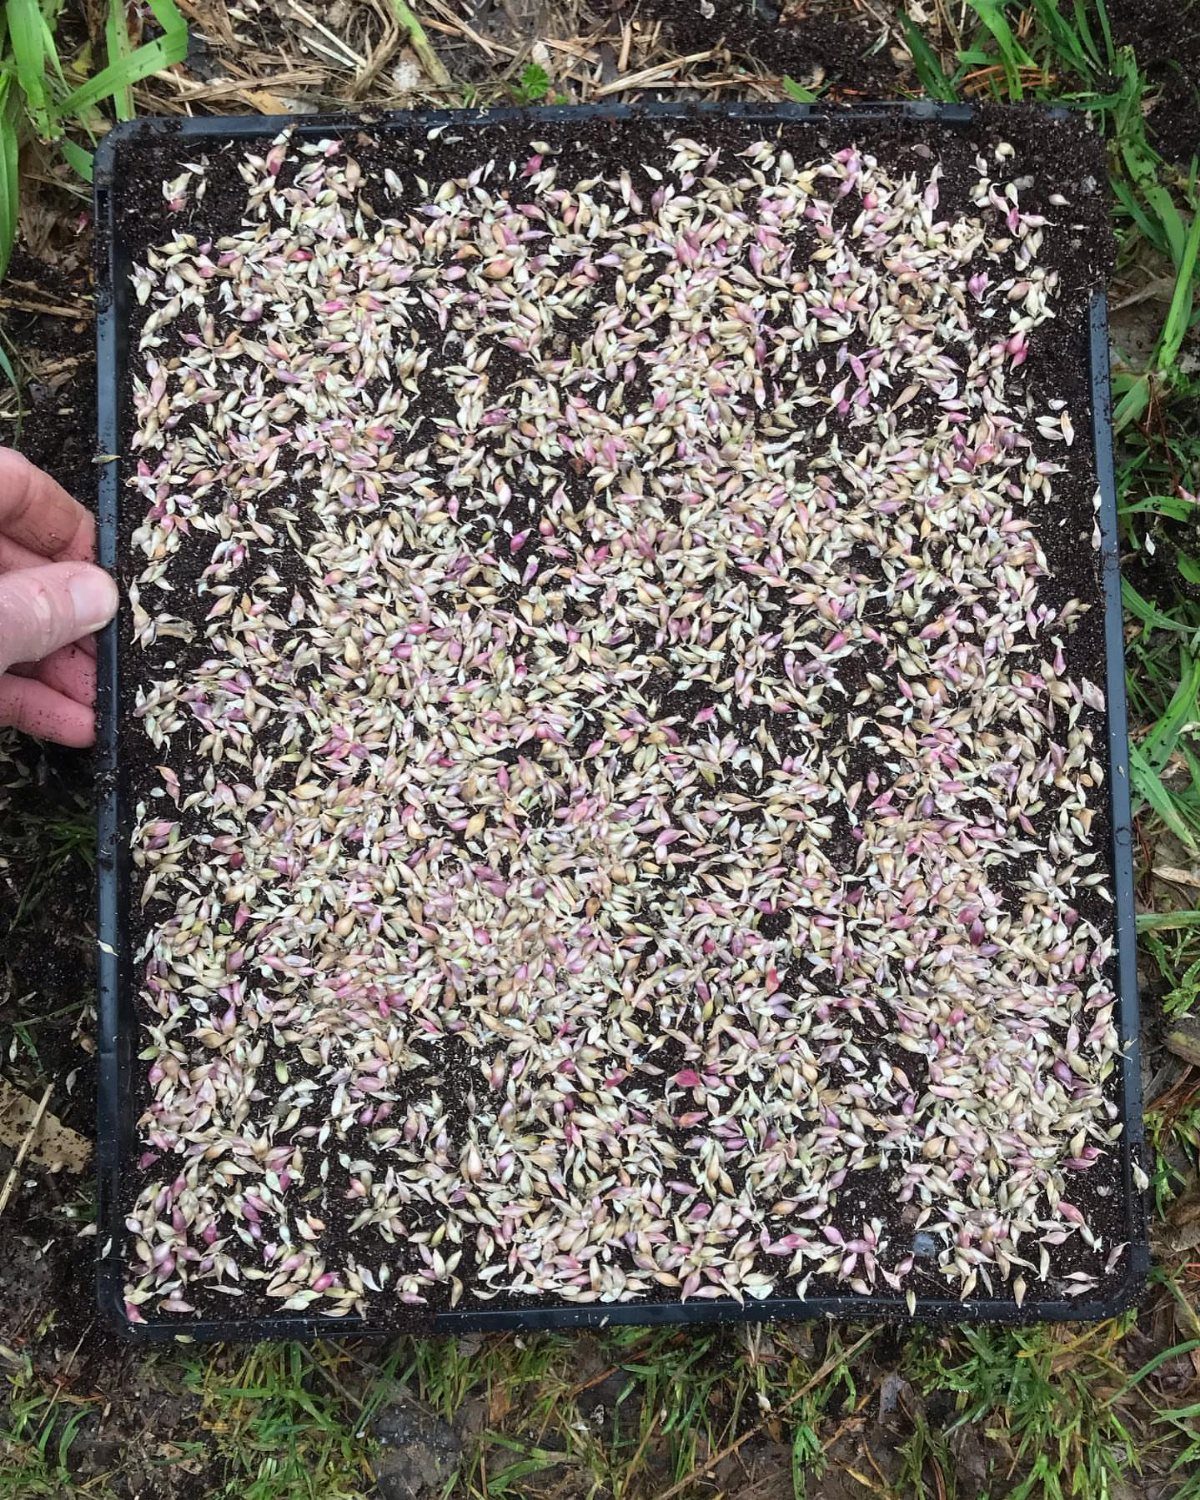
Bulbils are the tiny cloves that form at the top of a hardneck scape if I let it grow instead of cutting it for the kitchen.
They are seeds in function, though not botanically seeds, and they let me multiply a variety without buying more stock.
I harvest them when the stem dries in late summer, separate the individual bulbils, and plant them in potting compost or directly in the ground.
A label matters; the first year’s growth looks like grass, and I have forgotten where I put them before. Growing from bulbils takes patience: two full seasons pass before one swells into a bulb worth harvesting.
For a patient gardener with a favorite strain, or for someone building stock from one expensive initial purchase, the wait is acceptable. For garlic this year, I plant cloves instead.

Efficient Herb Drying: You will get 4 pcs herbal drying racks, each equipped with 30 stainless steel detachable clips, allowing you to dry and preserve a variety of herbs simultaneously, saving you time and effort

🧄3-Pack Large Capacity for Bulk HarvestThis 3-pack drying rack features 81 precision holes per piece, provides large drying capacity for bulk garlic, onions, herbs, flowers, seeds and all kinds of garden produce,hangs freely—prevents overcrowding. 360° open airflow speeds up natural air drying, herb and vegetable in perfect drying state. Ideal for home garden large harvest and bulk food drying.

Versatile Use: Measuring 13.8 x 13.8 inches with a 23-inch chain, these racks suit herbs, garlic, onions, flowers, and plants. Practical for gardens, kitchens, balconies, or greenhouses with multiple seasonal uses
Common Garlic Growing Issues
Garlic faces 2 enemies worth watching: rot from wet feet, and the pests that find stressed plants first.
I check the bed weekly through spring, not because I expect trouble but because catching it early is the only cure that works.
Fungus enters through any break in the skin, which is why I lift bulbs with a hand fork instead of pulling.
The same wound that lets rot in can invite insects. Wireworms and onion maggots both target alliums; if I see yellowing that comes too early or too fast, I dig one bulb to check whether the damage is below ground.
Netting over the bed stops cats and foraging animals from disturbing the soil and exposing cloves. Where pests are persistent, that layer goes on right after planting, before the shoots emerge.
An untended bed, like one left for years in Oklahoma, needs the same inspection.
Harvest what is ready, remove every scrap of old leaf and bulb, then test the soil before replanting. Disease lingers in residue.

✅High Quality Clay&surface glaze---The terracotta garlic storage is made of high quality clay,with a glazed surface that is very smooth,which not only makes our ceramic garlic keeper solid and not fragile, but also exudes the fragrance of soil. This is not only a container, but also an artistic ornament

Keep your garlic fresh and flavorful with the CHILDIKE 12 oz Garlic Keeper, designed with a lid to preserve the freshness of your cloves
Health Benefits of Garlic
Garlic does more than flavor a pan. It carries vitamin C and manganese, and some studies link it to lower blood pressure and cholesterol.
The immune boost is less certain, though enough people swear by it that I keep raw cloves in honey through winter just in case.
The antimicrobial effect is real enough that I crush a clove into broth at the first sign of a cold. Whether it shortens the illness or only tastes like it should, the comfort is worth the small effort.
What I know for certain: a bulb from my own bed has more punch than the soft, sprouting cloves from the grocery store.
The health claims are a side benefit. I grow it because fresh garlic makes everything else on the plate taste more like itself.
Choosing a Reputable Seed Source
The clove I plant is the whole future of the bulb. Soft or discolored stock will rot or produce weak plants, so I buy from suppliers who sell named varieties and ship firm bulbs.
Grocery store garlic is a gamble.
It may be treated to prevent sprouting, and it is almost always softneck, which misses the scapes and cold hardiness of hardneck types. A garden center or mail-order specialist offers both kinds, with provenance I can trace.
I look for bulbs sized for my zone: larger cloves from cold-climate growers, or varieties bred for heat if I am farther south.
The label should say where it was grown. Garlic adapts to its place over seasons, and stock from a similar climate establishes faster.
One expensive purchase of a favorite strain can be multiplied for years through bulbils or by saving the largest cloves. The initial cost matters less when I am still growing that same garlic 5 seasons later.
Garlic’s Flavor Profile
Hardneck garlic tastes stronger than softneck, with larger cloves and fewer of them per bulb. The scapes, if I let them form, carry that same intensity and work in pesto or stir-fry before the bulbs are even ready.
Softneck runs milder, with more cloves packed tighter and a stem I can braid. It stores longer, which is why supermarkets stock it almost exclusively.
For raw eating or long keeping, softneck has the edge. For roasting or a sauce that needs to announce itself, hardneck delivers.
The difference is not subtle once you have grown both. Store-bought garlic, even organic, is chosen for shelf life and uniform appearance.
My own beds give me the choice: sharp and immediate from a fresh hardneck clove, or softer and sweeter from a softneck I braided myself and hung in the kitchen through winter.
Frequently Asked Questions
How long does it take to grow garlic?
Garlic needs 6–8 months from planting to harvest when you start with cloves.
Bulbils, those tiny clusters at the tip of a hardneck scape, need 2 full years in the ground before they size up into a bulb you would actually pull.
Can I just plant garlic from the grocery store?
You can, but it is a gamble. Grocery store garlic gets treated against sprouting more often than not, and what is on the shelf is almost always softneck, so you miss out on scapes and the cold tolerance hardnecks bring.
Can I grow garlic from a clove of garlic?
Yes. Each clove is a complete plant waiting to start.
Separate firm cloves from the bulb, leave the skin on, press the root end down with the pointed end up, and plant 1–2 inches deep. Soft or discolored cloves should be discarded; they rot instead of root.